
Setting Up an Accounts Receivable with a Job Order
Step 1: Click Ongoing Orders.

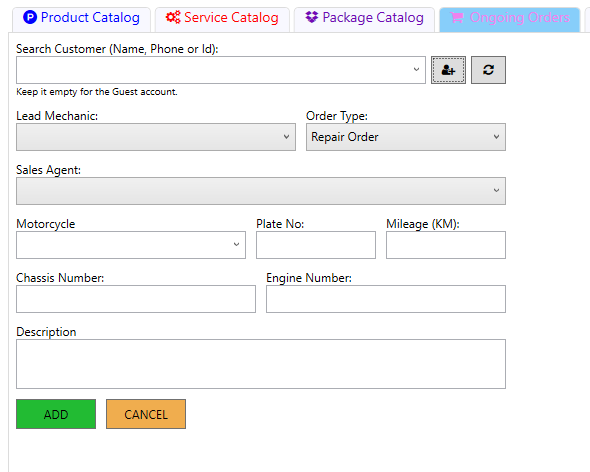
Step 2: Click New Order.

Step 3: Fill out the order form. Search for the customer by name or phone number. If the customer is new, click the plus (+) button to add them. If it is a guest, you may leave it blank.
Step 4: Select the Lead Mechanic and the Sales Agent from the dropdown list
Step 5: Choose the motorcycle model and enter the Plate Number, Mileage, Chassis Number, and Engine Number.
Step 6: Type the repair or service request in the description box.
Step 7: Click ADD to save the order. Click CANCEL if you want to clear the form.
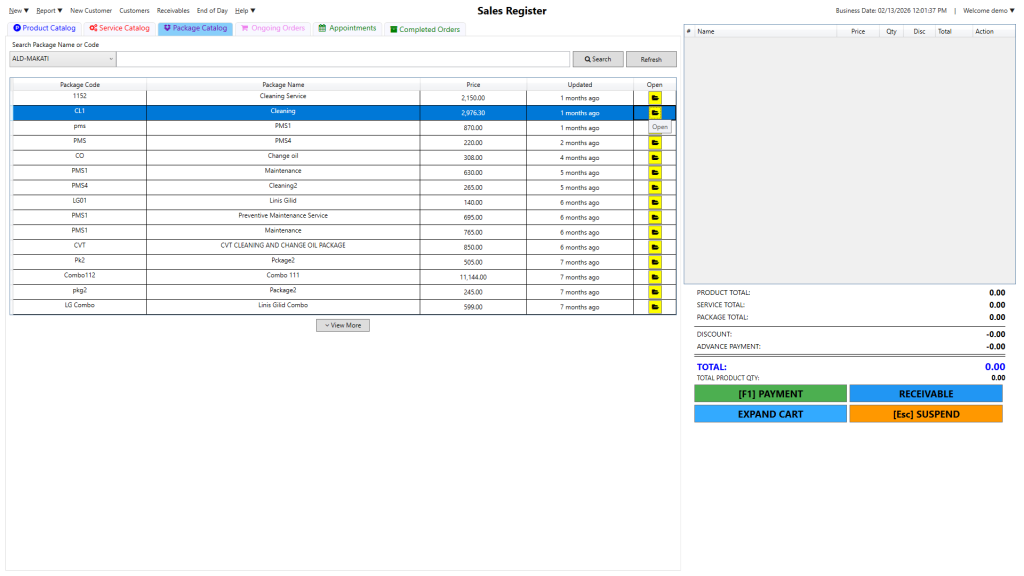
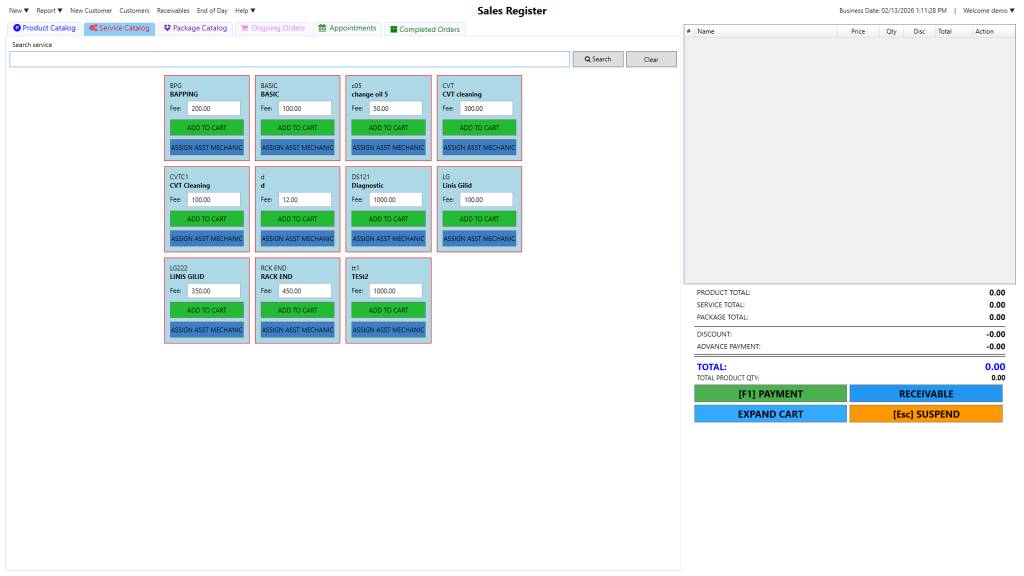
Step 8: Click Package Catalog.

Step 2: Find the package and click the folder icon to add it to the cart, check the totals, then click [F1] PAYMENT to pay now, RECEIVABLE to pay later, or [Esc] SUSPEND to hold the transaction.
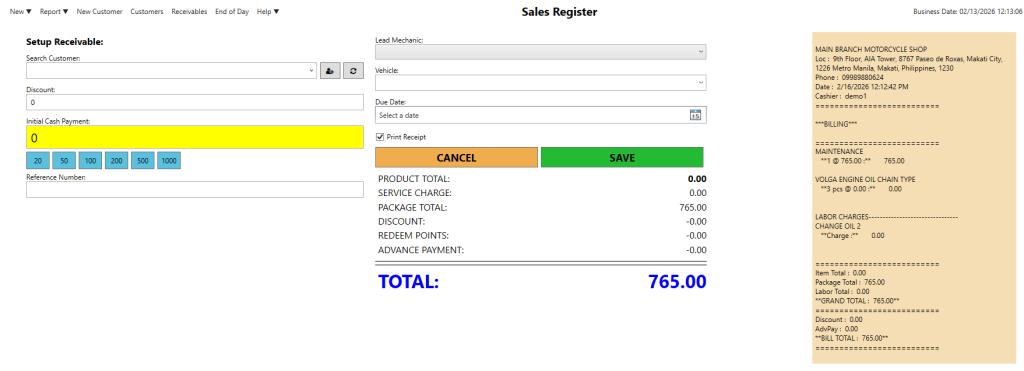
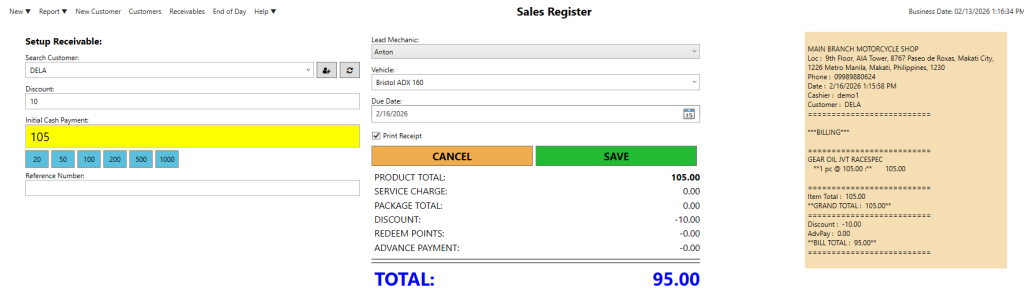
Step 3: Select the customer and vehicle, enter any discount or initial payment, type a reference number, choose the Lead Mechanic and due date, then click SAVE to finalize the receivable.
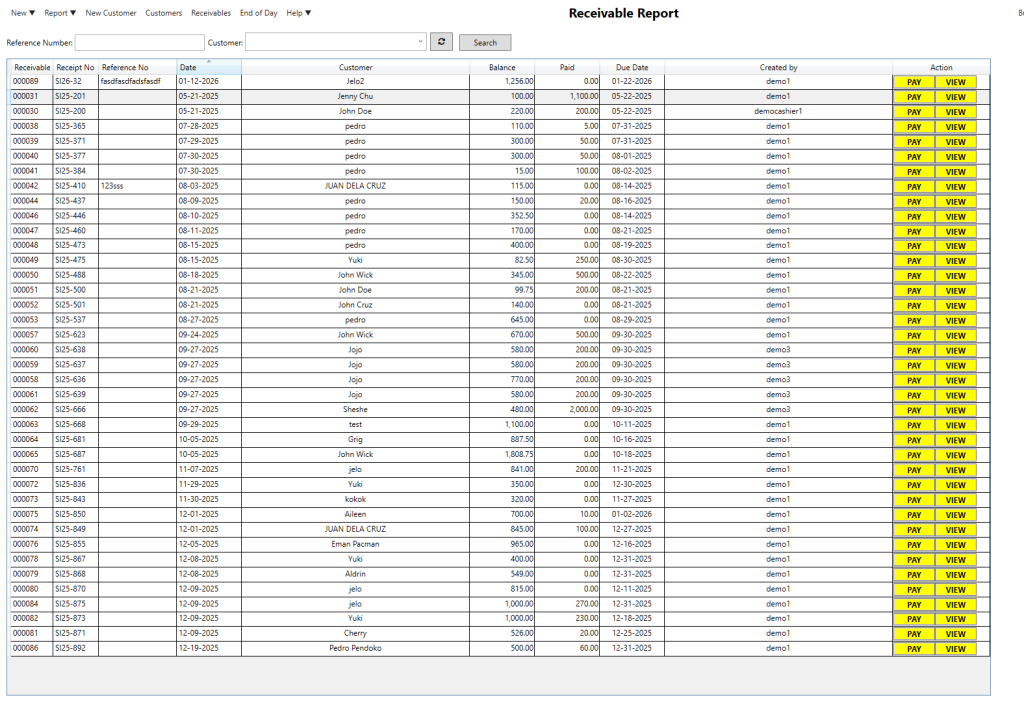
Step 4: Open the Receivables report from the top menu, search by customer or reference number, then click PAY to record a payment or VIEW to see full transaction details.
Video Guide: Setting Up an Accounts Receivable with a Job Order
How to Set Up a Receivable for a Job Order (Step-by-Step Video Guide)
Setting Up a Receivable Without a Job Order
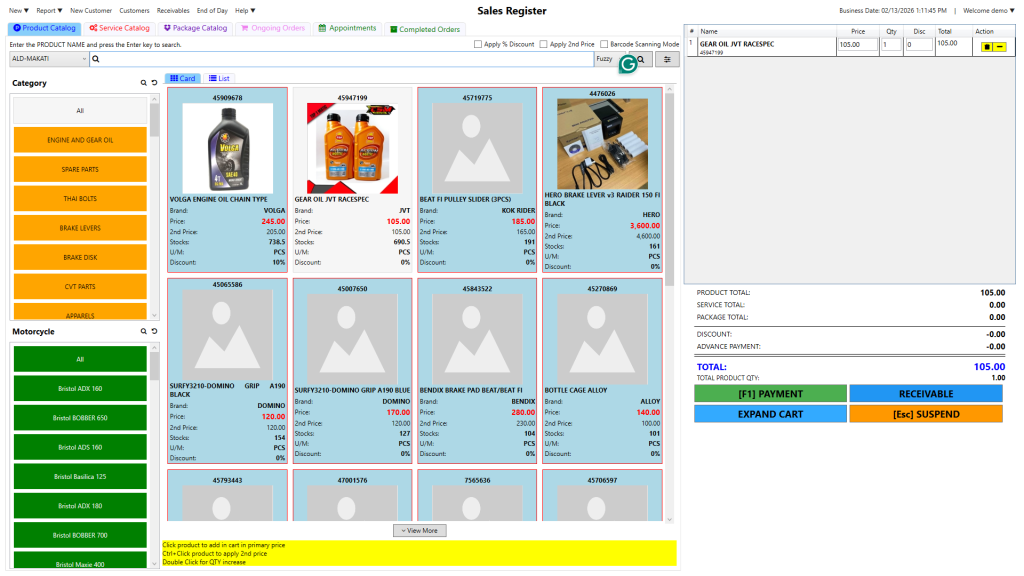
Step 1: Add the service or package to the cart, then click RECEIVABLE.
Step 2: Select the customer and vehicle, enter any discount or initial payment, choose a due date, and type a reference number.
Step 3: Click SAVE to finalize. To collect payment later, open the Receivable Report, search the record, then click PAY or VIEW.
Step 4: Add products, services, or packages to the cart, then click [F1] PAYMENT to pay now or RECEIVABLE to enter customer, vehicle, payment details, reference number, due date, and save.
Step 6: Add products, services, or packages to the cart. Click [F1] PAYMENT to pay now or RECEIVABLE if the customer will pay later.
Step 7: If using RECEIVABLE, select the customer and vehicle, enter any discount or initial payment, set a due date, type a reference number, and click SAVE. To collect payment later, search the record by customer or reference number, check the balance, click PAY to record payment, or VIEW to see full details.
Step 8: Add products, services, or packages to the cart. Click [F1] PAYMENT if the customer pays now, or click RECEIVABLE to pay later.
Step 9: If using RECEIVABLE, select the customer and vehicle, choose the Lead Mechanic, enter any discount or initial payment, set a due date, type a reference number, and click SAVE. To manage payments later, search the customer or reference number, click PAY to record a payment, or VIEW to see full details and balance.

Video Guide: Setting Up a Receivable Without a Job Order
How to Set Up an Accounts Receivable Without a Job Order (Step-by-Step Video)